Follow the link to learn more about the possibilities and benefits of the integration of the Picvario system with S3 cloud storage and find instructions for setting up Amazon S3 storage. To set up other cloud storage facilities, please refer to the relevant articles in the Intergation section.
To create and set up a bucket in Amazon S3, follow these steps:
- Go to Amazonhomepage and log in to the console. Both Root and IAM users, depending on your access level, can be used to create storage.
- Go to Services > Storage >
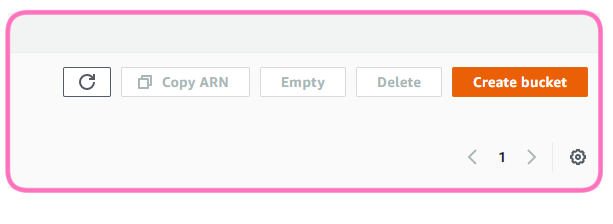
- Click on the Create bucket button

- Fill in the parameters:
— Name the bucket.
— Select the region. Here, as an example, we use AWS region: EU(paris) eu-west-3.
— Block all public access: true.
— Bucket Versioning: Disable.
— Tags are optional. Their absence does not affect the connection.
— Default encryption: Enable.
— Encryption key type: Amazon S3 key (SSE-S3).
- Click on Create bucket.
- Go to Services > Security, Identity,& Compliance > IAM > Users.
- Click on Add user.
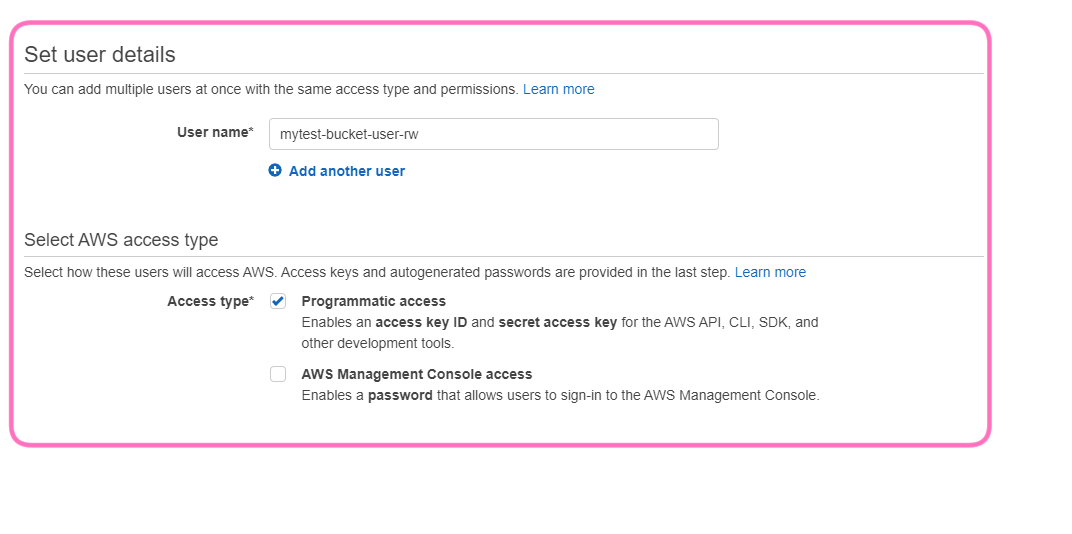
- In the window that opens enter a user name and select Programmatic access as the Access Type.

- Proceed to the next steps of the process to create a new user. It is not mandatory to fill in the fields at the permissions, tags and review steps. If the permissions step has not been completed, the system will display a warning message at the last step. However, it can be ignored as it does not affect the process of creating a user with the required settings.
- Copy the access keys. Attention: the secret key can only be viewed/copied once. If the secret key is lost, a new pair of keys must be created on the user page in the Security credentials section.

- Now find the created user in the Users section and go to its page. On the Permissions tab, click on the Add inline policy

- Go to the JSON tab and replace the text there with the following (replace the «BUCKET NAME» variable with the real name of your BUCKET)
{
    "Version": "2012-10-17",
    "Statement": [
        {
            "Action": [
                "s3:ListAllMyBuckets"
            ],
            "Resource": "*",
            "Effect": "Allow"
        },
        {
            "Action": [
                "s3:PutObject",
                "s3:PutObjectAcl",
                "s3:GetObject",
                "s3:DeleteObject",
                "s3:ListBucket"
            ],
            "Resource": [
                "arn:aws:s3:::BUCKET NAME",
                "arn:aws:s3:::BUCKET NAME/*"
            ],
            "Effect": "Allow"
        }
    ]
} - Set the name of this permission and click on Create Policy.
- Go to Setting up Picvario-side S3 storage connection and follow the necessary steps on the Picvario side.