Let us have a look at some system options that can be configured in the admin panel. Some of these options can also be configured in the Picvario interface. For information on how to do this, see the article System Options.
Default asset feed display
When you create your workspace, the assets in the asset feed are displayed in Tiles mode. If you work with documents, then Table or List will be a more convenient display mode for you.
If you set the default mode, it will be active for all users of your workspace, unless they change it by clicking the gear icon in the top right corner in the interface.
To set the default display mode:
1. Go to the admin panel, Home > Options > Options.
2. Click on default_asset_view.
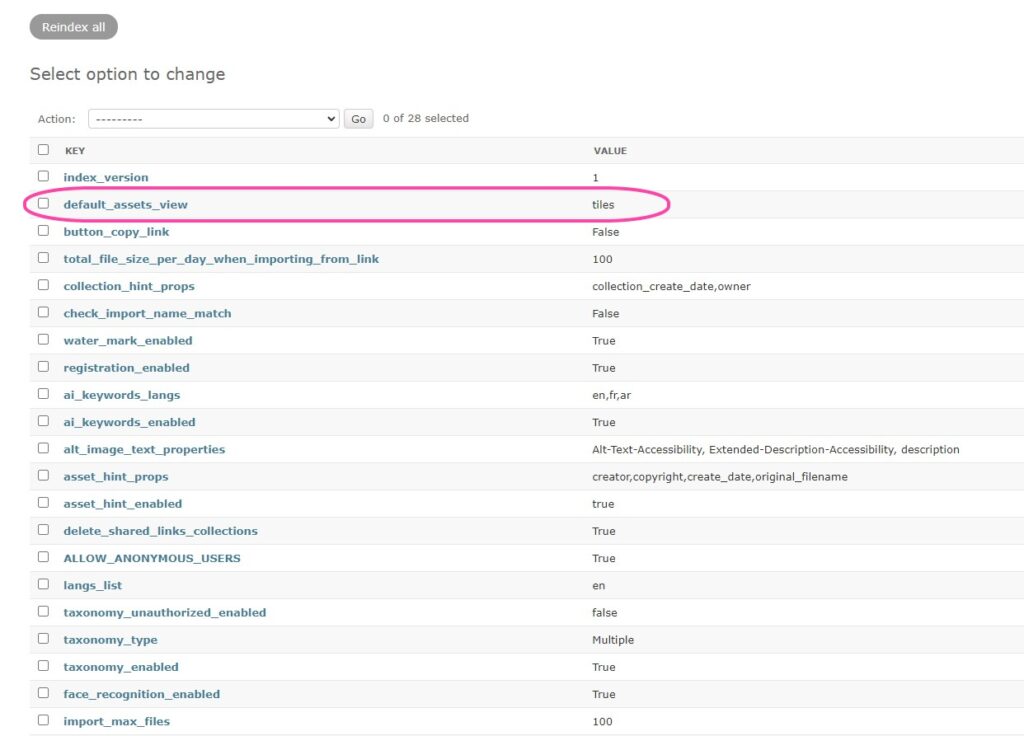
3. In the Val field, select one of the three options from the drop-down list:
- Tiles. Asset thumbnails are displayed in Tiles mode.
- Table. Icons of file formats and a set of properties defined by the administrator are displayed for each asset in the feed.
- List. Small thumbnails of assets and a set of properties defined by the administrator for each asset in the feed.
4. Click Save.

The Copy Link button
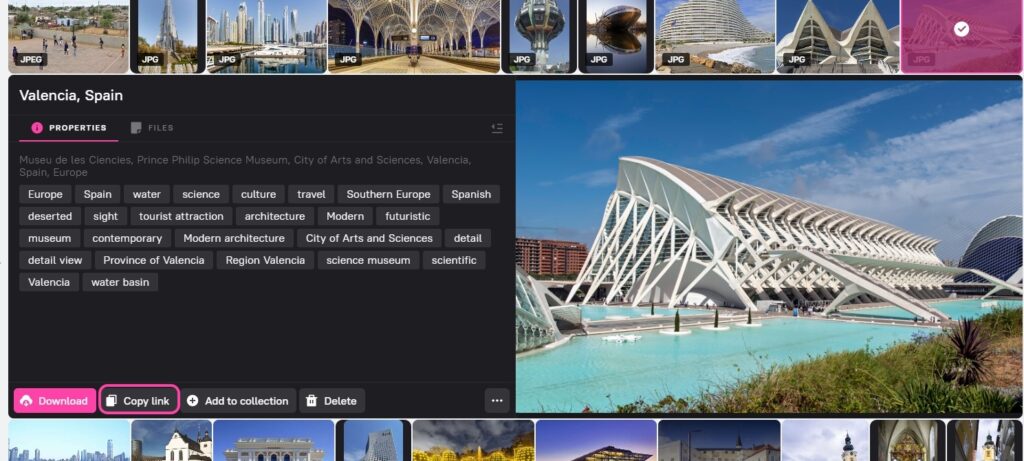
By default, the Copy link button, which you can use to get an internal link to the asset, is located in the drop-down menu under ![]() . If you use this button often, you can put it on the preview panel to avoid unnecessary clicks.
. If you use this button often, you can put it on the preview panel to avoid unnecessary clicks.
To adjust the button location:
1. Go to the admin panel, Home > Options > Options.
2. Click on button_copy_link.
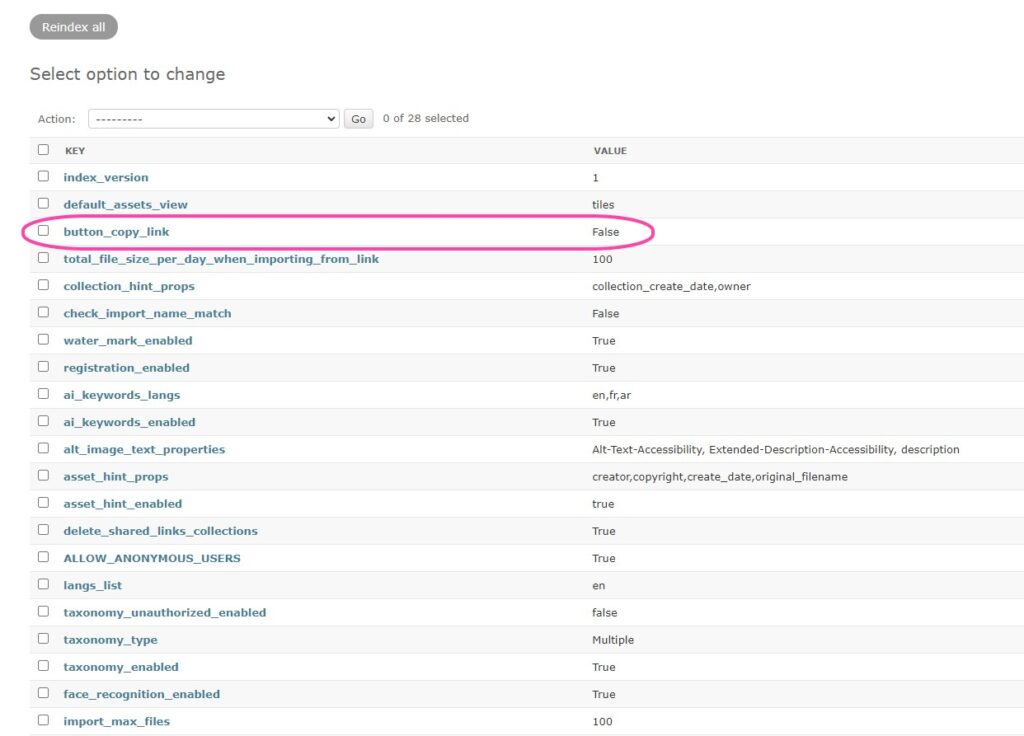
3. Check the box Val.
4. Click Save.

Now the button will be displayed on the preview panel next to the Download button.
Total file size limit
The total_file_size_per_day_when_importing_from_link option allows you to limit the total size of files uploaded per day via import links.
To set up a limit:
1. Go to the admin panel, Home > Options > Options.
2. Click on total_file_size_per_day_when_importing_from_link.
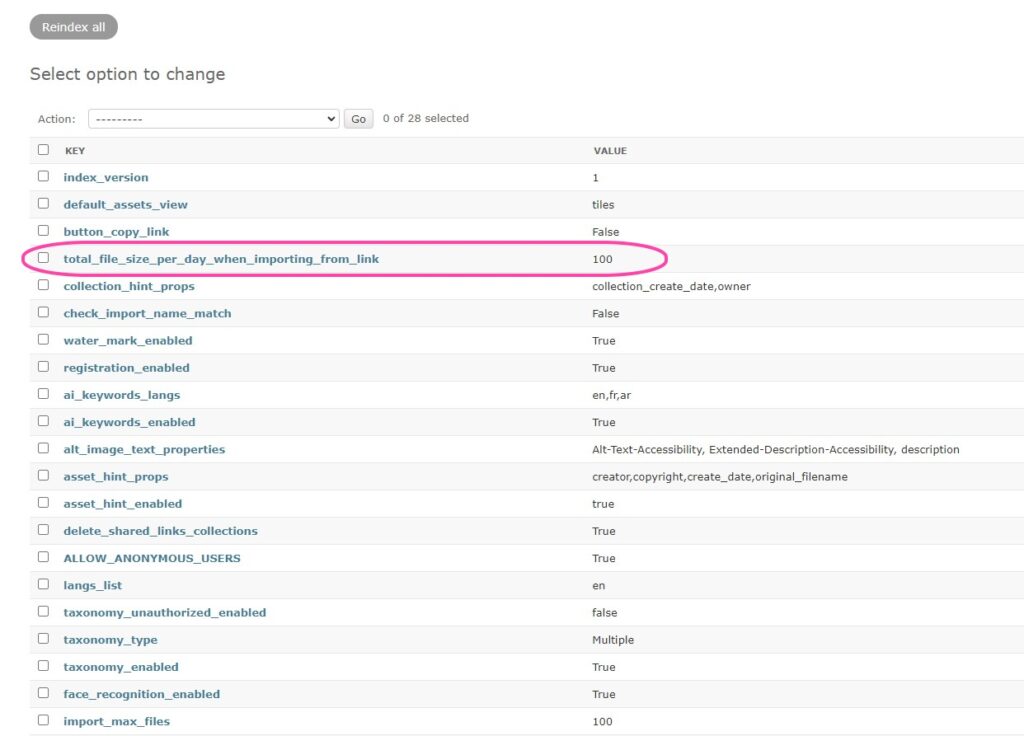
3. In the Val field, enter a value in GB or enter 0 to disable the limit.
4. Click Save.

Watermarks
This option allows you to add a watermark to proxy versions of assets. Those users for whom the corresponding access rule is configured can see assets with watermarks.
To enable watermarks:
1. Go to the admin panel, Home > Options > Options.
2. Click on water_mark_enabled.
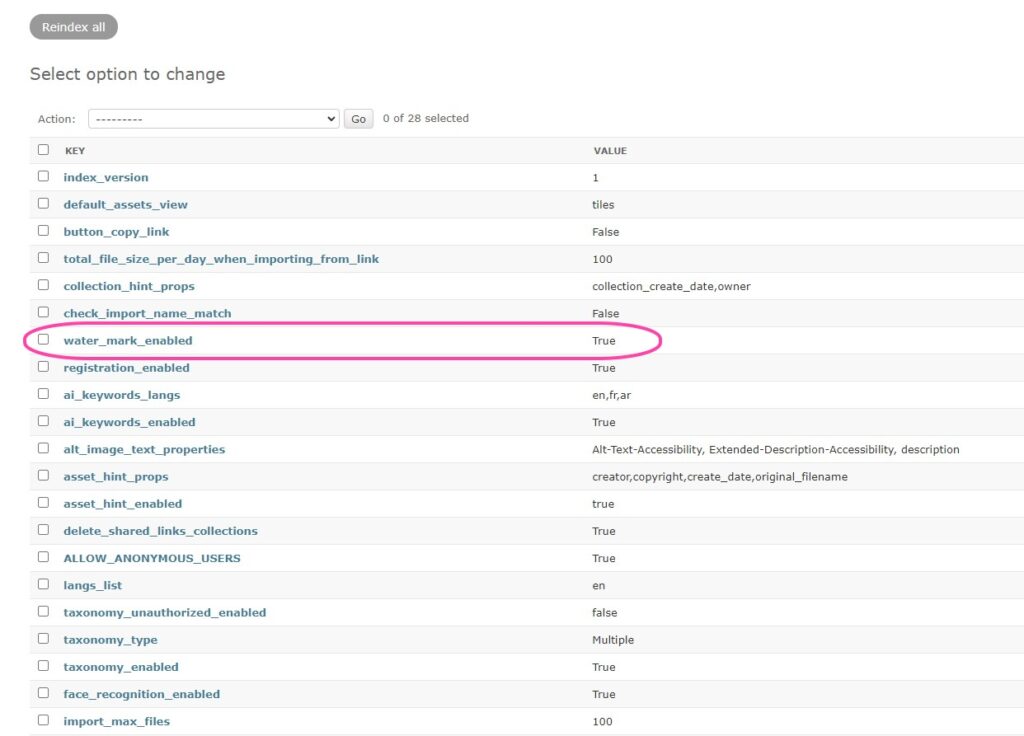
3. Check the box Val.
4. Click Save.

Self-registration
This option allows you to permit or prohibit self-registration of users in your workspace. If registration is prohibited, only the administrator can add a new user, the Sign Up button is not displayed in the interface.
If the option is enabled, any user who visits your Picvario page can register and access your workspace. After registration, they get into the default user group, and acquire the rights defined for this group.
To enable user registration:
1. Go to the admin panel, Home > Options > Options.
2. Click on registration_enabled.
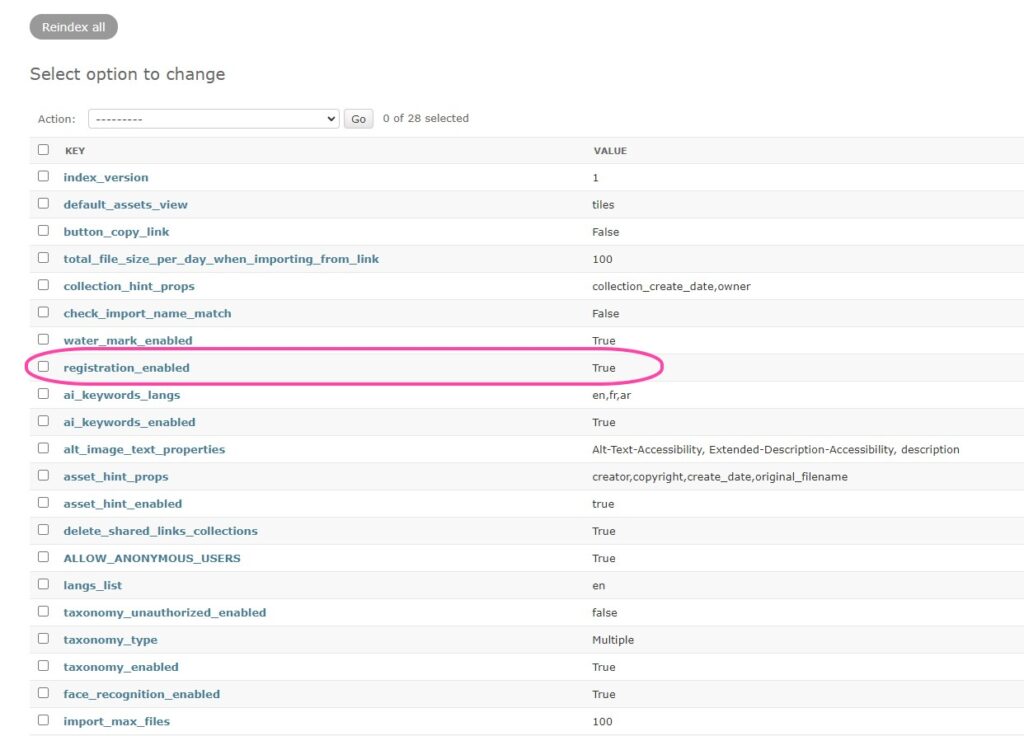
3. Check the box Val.
4. Click Save.

Bulk import of supporting files into existing assets
The Picvario workspace can be configured so that the system compares the names of imported files with the file names of already uploaded assets, and, in case of a match, uploads new files into existing assets as supporting files.
To set up the system:
1. Go to the admin panel, Home > Options > Options.
2. Click check_import_name_match.
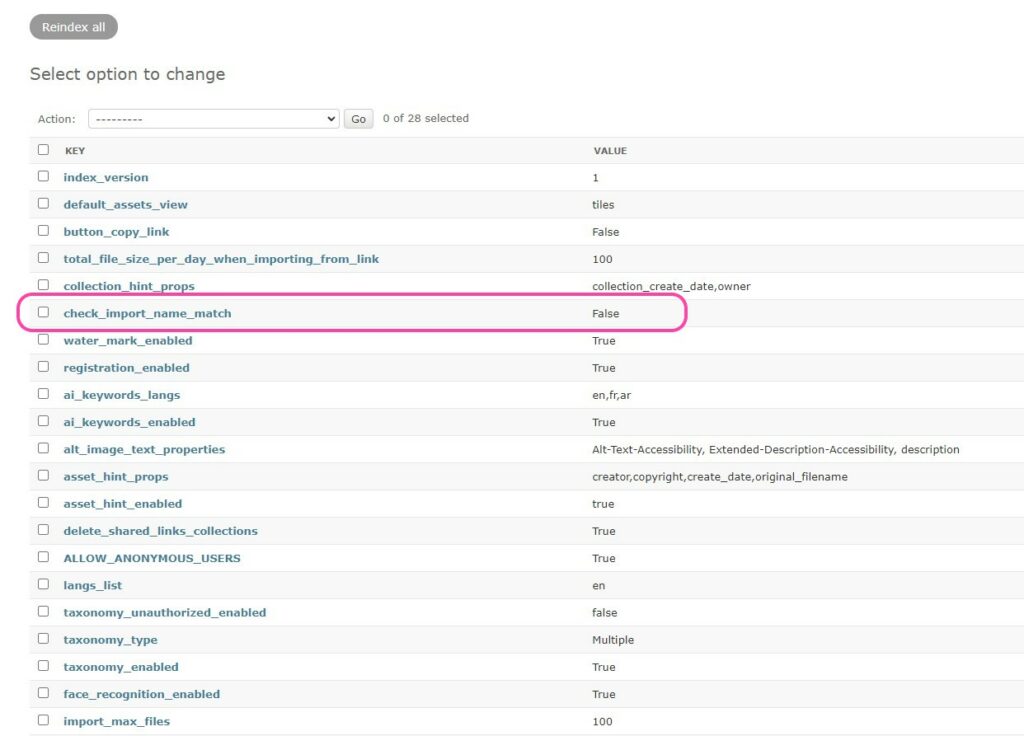
3. Check the box Val.
4. Click Save.

Artificial Intelligence – automatic tagging
This option allows you to enable or disable automatic tagging.
If this option is enabled, the Artificial Intelligence detects objects on images and adds tags to the AI tags field.
1. Go to the admin panel, Home > Options > Options.
2. Click on ai_keywords_enabled.
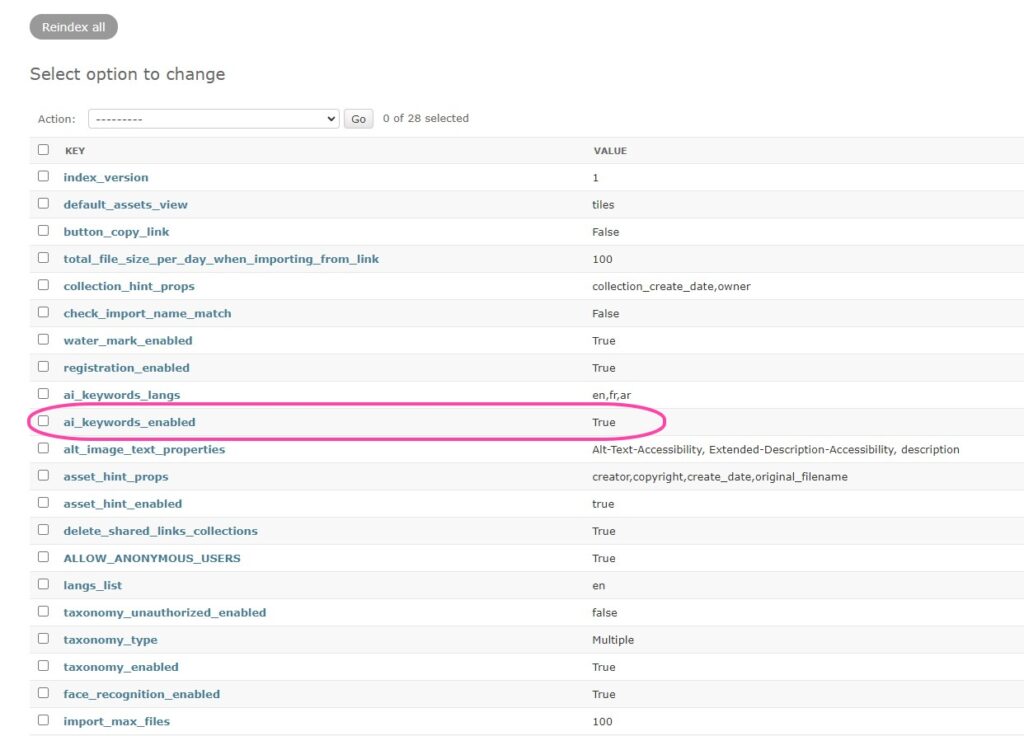
3. In the Val field, check the box to enable automatic tagging, or uncheck the box to disable it.
4. Click Save.

Artificial Intelligence — Tag translation languages
If automatic tagging is enabled, this option allows you to add tag translation languages.
To add languages:
1. Go to the admin panel, Home > Options > Options.
2. Click on ai_keywords_langs.
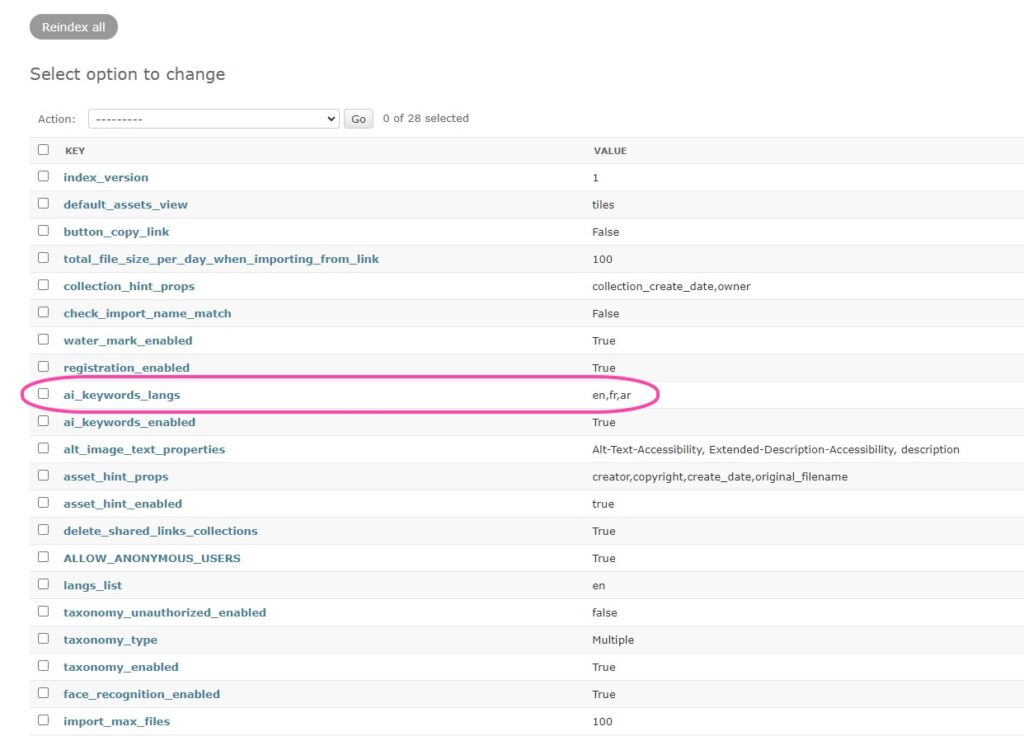
3. In the Val field, select the required languages from the list.
4. Click Save.

Accessibility Options Settings
This option is responsible for which metadata fields and in what order will be read and voiced by screen readers.
By default, the fields of the IPTC standard are specified: alternative text (Alt-Text-Accessibility), extended description (Extended Description-Accessibility), description (description).
To set up fields for screen readers:
1. Go to the admin panel, Home > Options > Options.
2. Click on alt_image_text_properties.
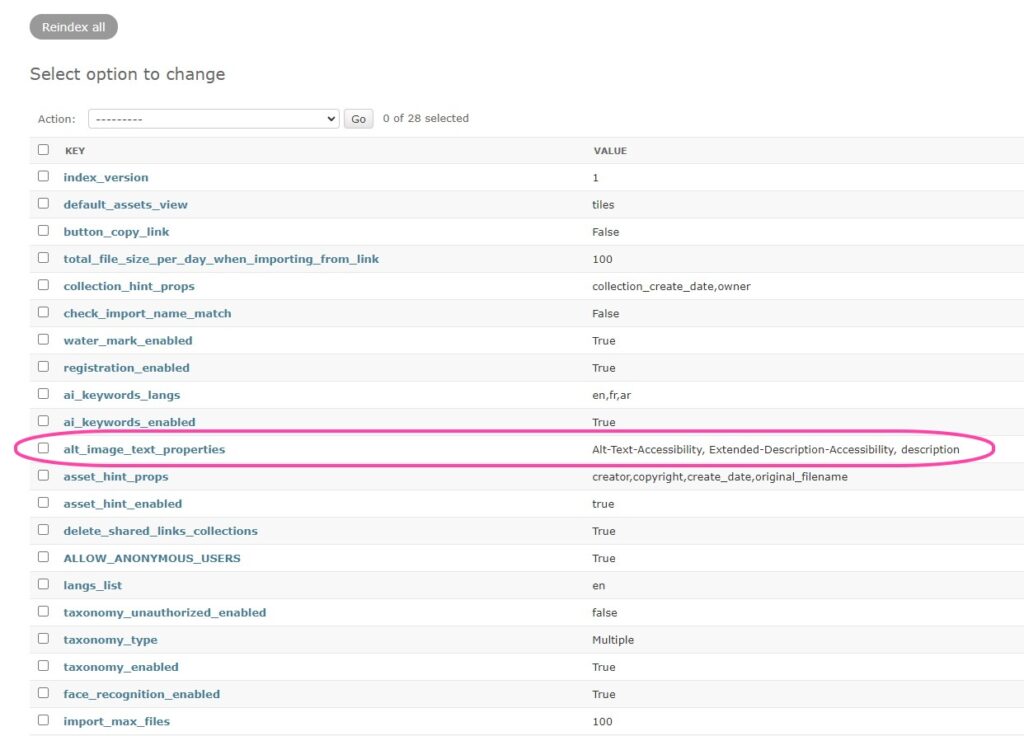
3. In the Val field, enter the system names of the properties (slug).
4. Click Save.

Asset Hint Panel
If this option is enabled, a hint panel with asset properties will be displayed when the cursor hovers over the asset.
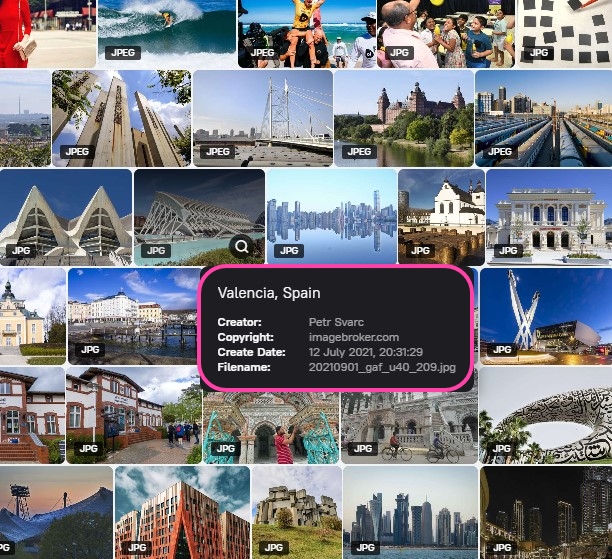
To enable the asset hint panel:
1. Go to the admin panel, Home > Options > Options.
2. Click on asset_hint_enabled.
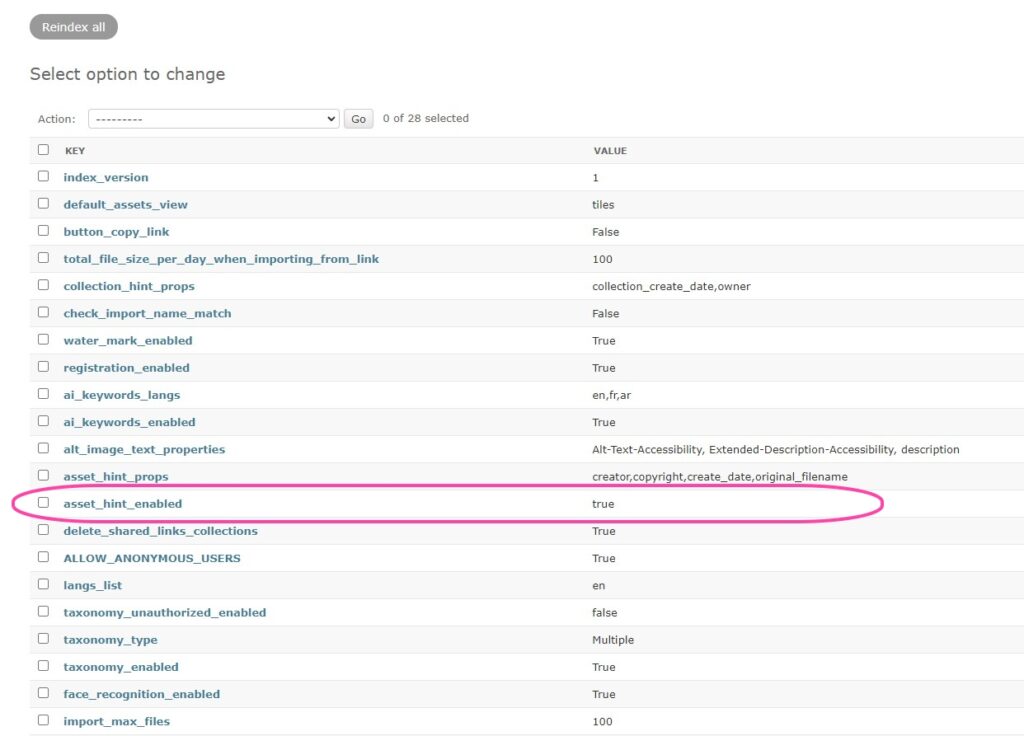
3. Check the box Val.
4. Click Save.

Contents of the asset hint panel
This option allows you to define the properties that will be displayed in the asset hint panel. By default, the properties are the creator of the asset (Creator), copyright (Copyright) and the date of creation of the asset (Create Date).
To define the properties displayed in the asset hint panel:
1. Go to the admin panel, Home > Options > Options.
2. Click on asset_hint_props.
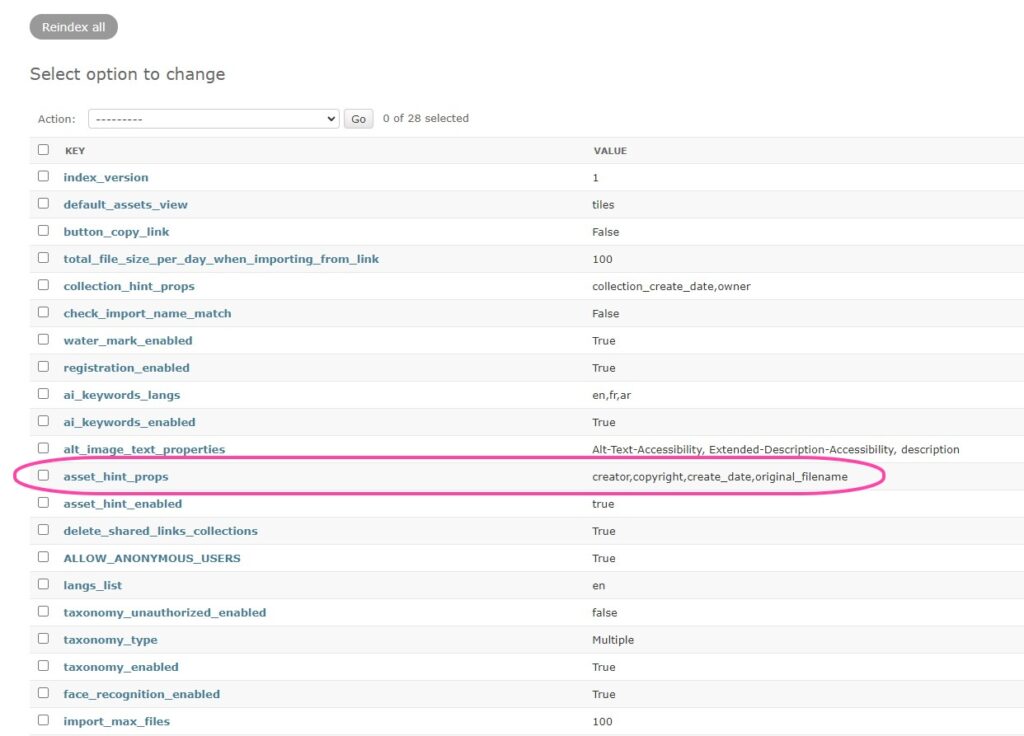
3. In the Val field, enter the properties separated by commas and without spaces.
To add a property, go to Home > Content > Props, open the necessary property and copy the value from the Slug field. For example, if you want the import date, asset UUID and tags to be displayed in the panel, enter import_data,uuid,tags in the Val field. The properties will be displayed in the same order they are written in.
4. Click Save.

Delete technical collections
Collections are created automatically when you create a link to multiple assets. If the link is temporary, then the collection will be deleted after the link expires. The assets in this collection will not be deleted, they will remain in the asset feed.
![]() This only works for technical collections that were formed when creating a link to multiple assets. Technical collections created during import will not be deleted this way!
This only works for technical collections that were formed when creating a link to multiple assets. Technical collections created during import will not be deleted this way!
To configure the deletion of technical collections:
1. Go to the admin panel, Home > Options > Options.
2. Click on delete_shared_links_collections.
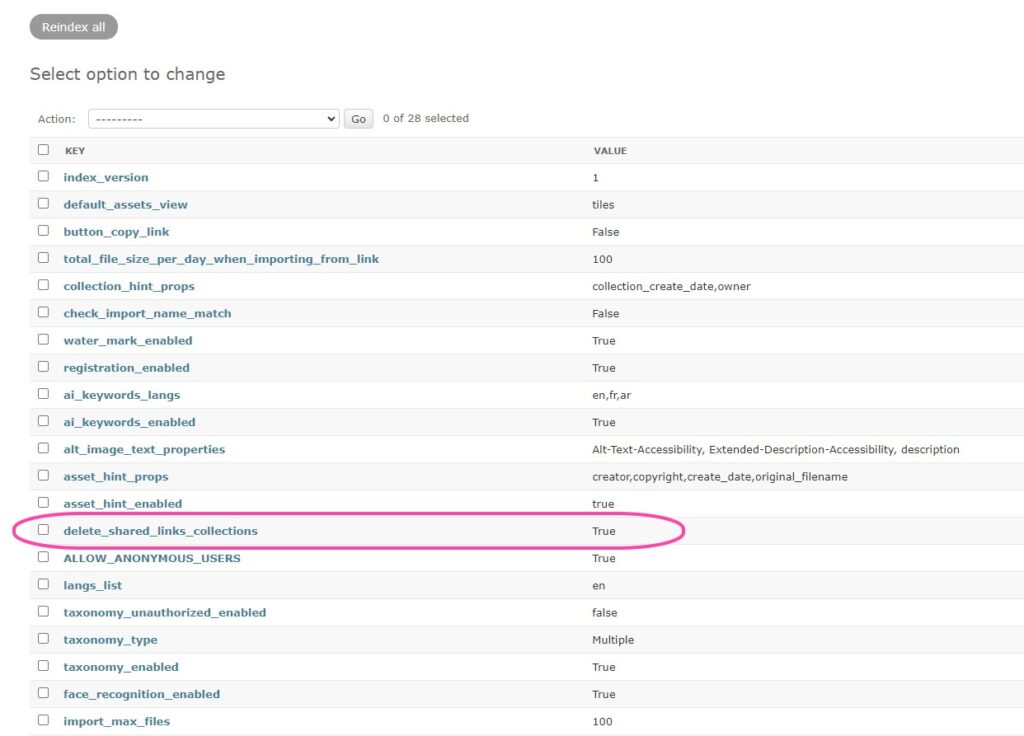
3. Check the box Val to delete collections after the link expires.
4. Click Save.

Require authorization for all users
This option allows you to disable the public part of your Picvario workspace. In this case, unauthorized users will not be able to see your assets.
To set up required authorization:
1. Go to the admin panel, Home > Options > Options.
2. Click on ALLOW_ANONYMOUS_USERS.
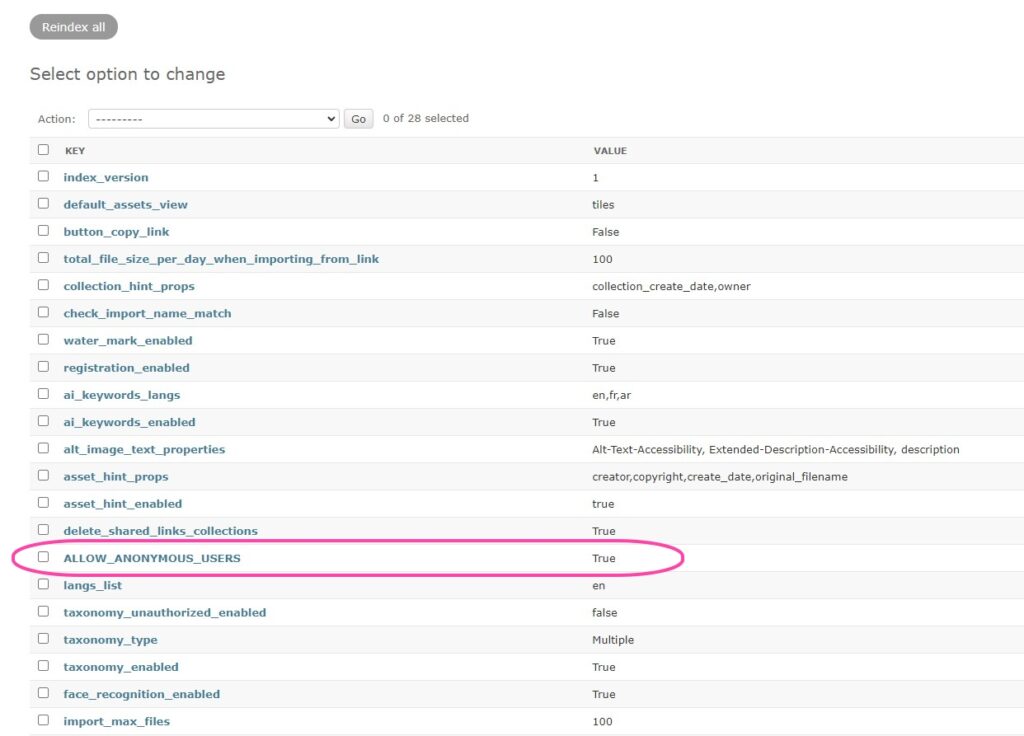
3. In the Val field, enter True to allow unauthorized users to view public assets, or enter False so that unauthorized users are immediately redirected to the authorization or sign-up page.
4. Click Save.

Taxonomy display
This option allows you to control the visibility of the taxonomy panel in the Picvario interface.
To customize the display of the taxonomy panel:
1. Go to the admin panel, Home > Options > Options.
2. Click on taxonomy_enabled.
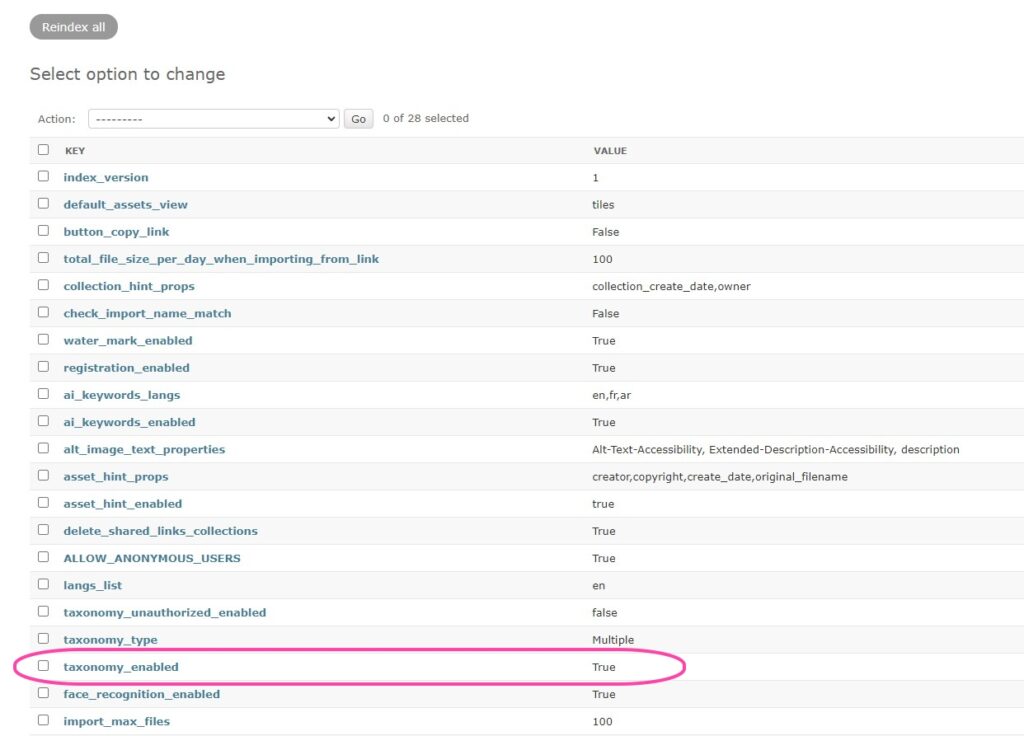
3. Check the box Val so that the taxonomy panel is available in the Picvario interface for authorized users.
4. Click Save.

Access to the taxonomy for unauthorized users
This option allows you to show the taxonomy panel to unauthorized users or hide it from them.
To set up access to the taxonomy panel for unauthorized users:
1. Go to the admin panel, Home > Options > Options.
2. Click on taxonomy_unauthorized_enabled.
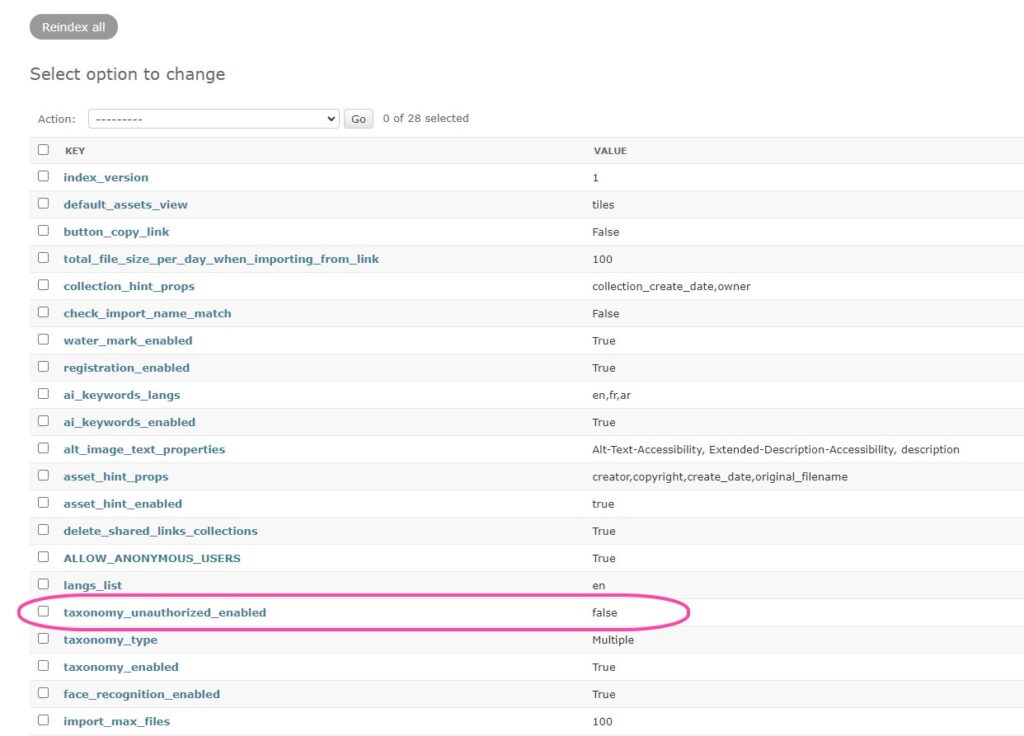
3. Check the box Val so that both authorized and unauthorized users can see the taxonomy panel.
4. Click Save.

Taxonomy type
This option allows you to configure the type of taxonomy.
To configure the taxonomy type:
1. Go to the admin panel, Home > Options > Options.
2. Click on taxonomy_type.
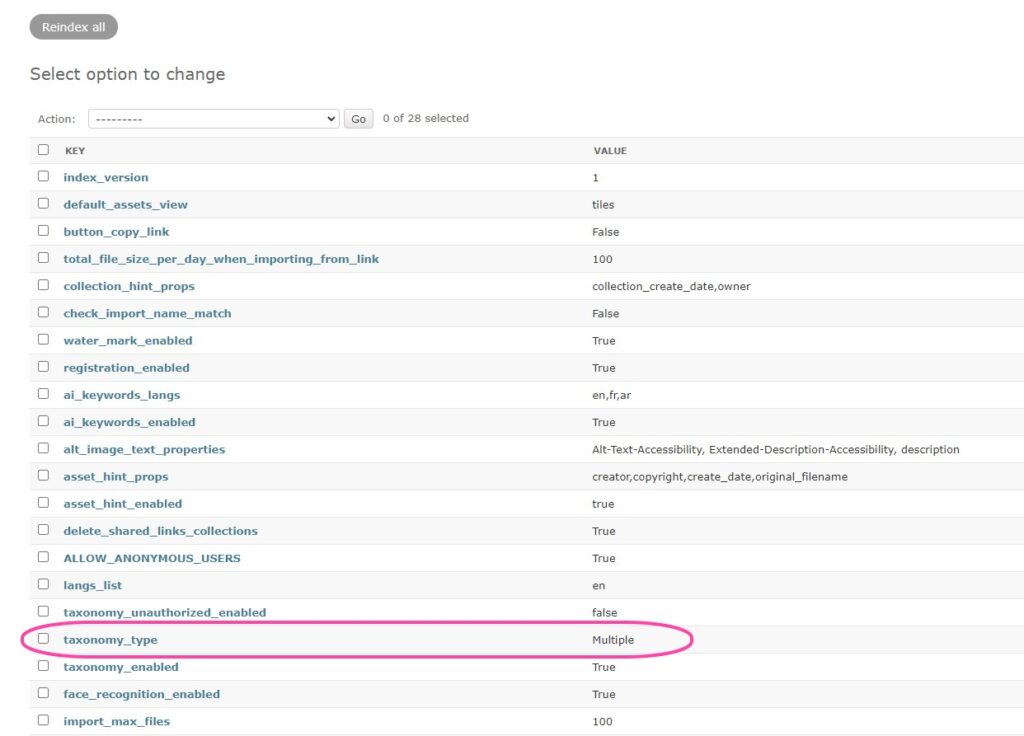
3. In the Val field, select one of the two options:
- Multiple — one asset can be linked to multiple taxons.
- Single — one asset can be linked to only one taxon. However, if you try to link an asset to a second taxon, the first link will be removed.
4. Click Save.

Face recognition
This option allows you to activate the face recognition function.
To enable face recognition:
1. Go to the admin panel, Home > Options > Options.
2. Click on face_recognition_enabled.
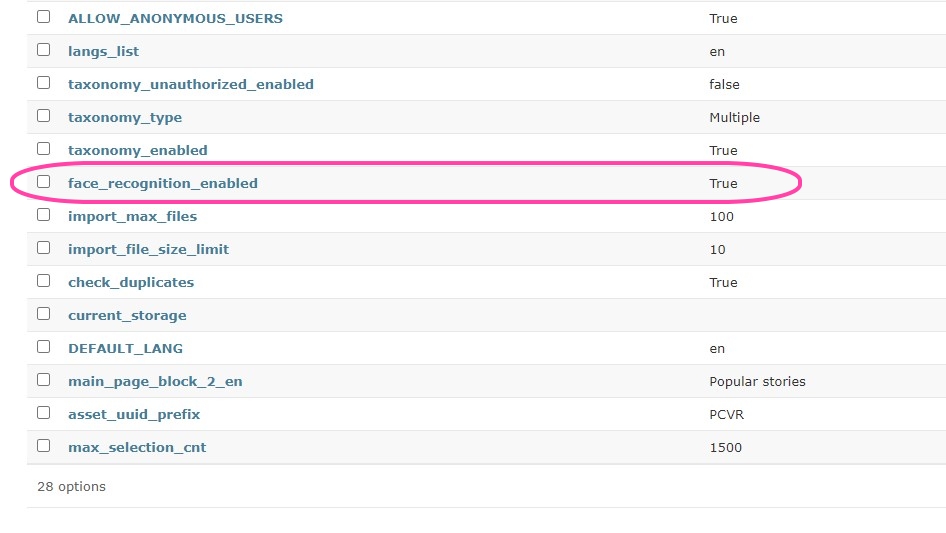
3. In the Val field, check the box to enable the face recognition function, or uncheck it to disable the function.
4. Click Save.

The maximum number of files when importing via a web browser
To specify the maximum number of files to import:
1. Go to the admin panel, Home > Options > Options.
2. Click on import_max_files.
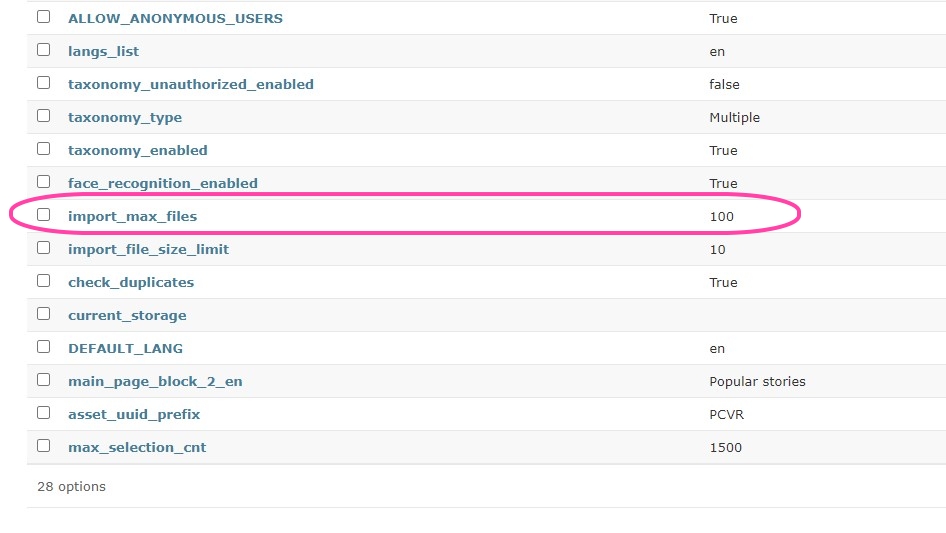
3. In the Val field, enter the maximum number. The default value is 100. You can remove the limit by setting 0 or choose another value at your discretion.
4. Click Save.

Maximum file size when importing via a web browser
To specify the maximum size of the imported file:
1. Go to the admin panel, Home > Options > Options.
2. Click on import_file_size_limit.
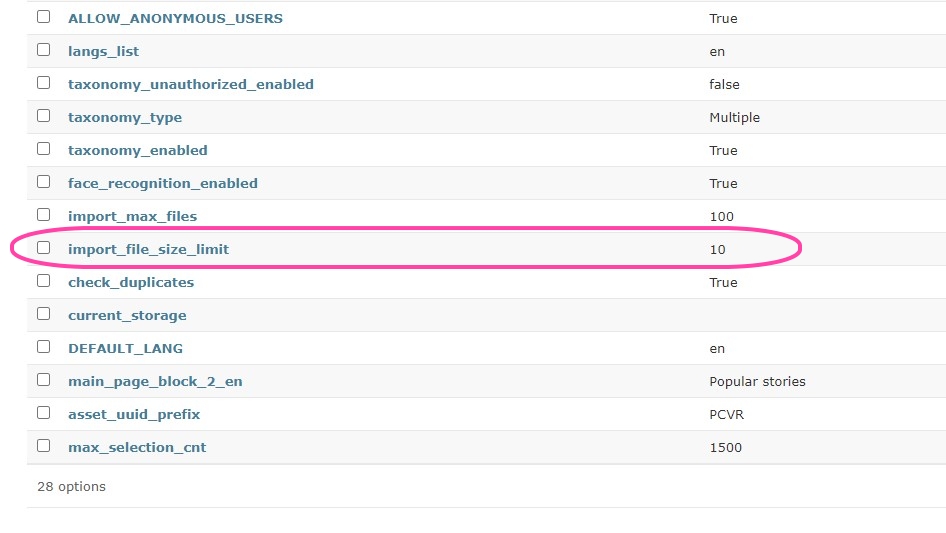
3. In the Val field, enter the value in Gb. The default file size is 10 GB. You can remove the limit by setting 0 or choose another value at your discretion.
4. Click Save.

Checking for duplicates
This option allows you to enable or disable checking whether the imported files are duplicates of assets already uploaded to the system. If verification is enabled, when importing assets via a web browser, assets that duplicate those already existing in the system will not be loaded into Picvario.
To enable or disable duplicate checking:
1. Go to the admin panel, Home > Options > Options.
2. Click on check_duplicates.
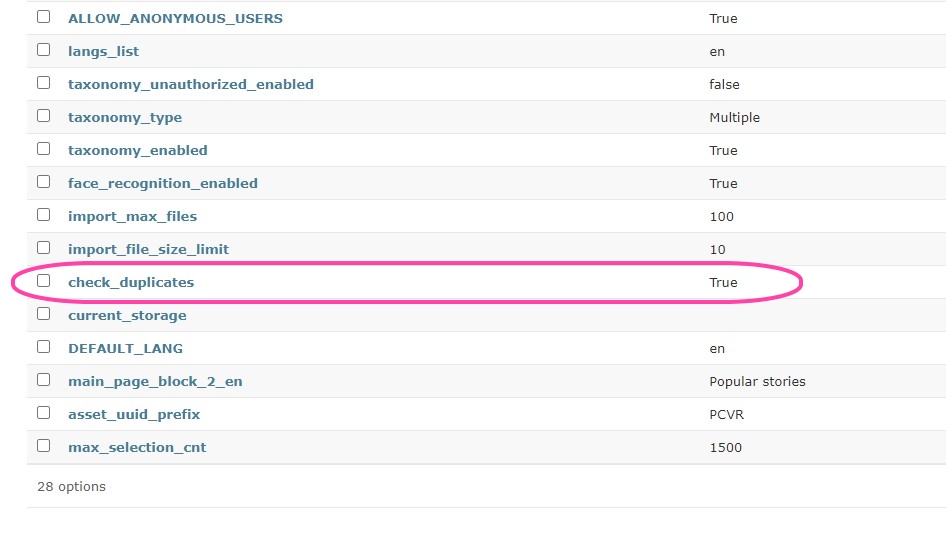
3. In the Val field, check the box to enable duplicate checking, or uncheck it to disable the function.
4. Click Save.

Current storage
This option allows you to set the primary storage for your workspace. By default, this is the Picvario System Storage, but you can make any of the storage connected to your workspace the main one.
To set up the main storage:
1. Go to the admin panel, Home > Options > Options.
2. Click on current_storage.
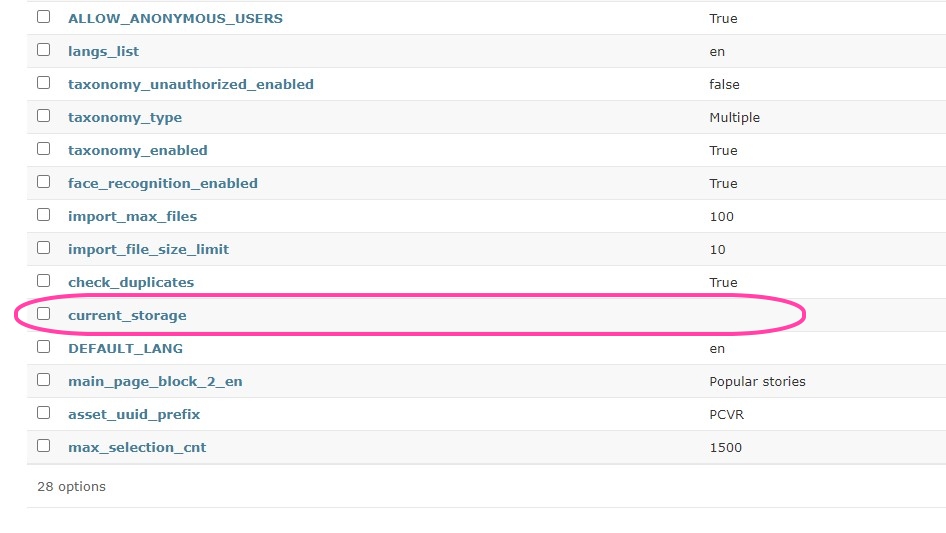
3. In the Val field, enter the name of the main storage or leave the field empty to make the Picvario System storage the main one.
4. Click Save.

Default language
This option allows you to select the default language. Interface elements are displayed in the default language until the user changes the language. Mail messages are always displayed in the selected language.
To set the default language:
1. Go to the admin panel, Home > Options > Options.
2. Click on DEFAULT_LANG.
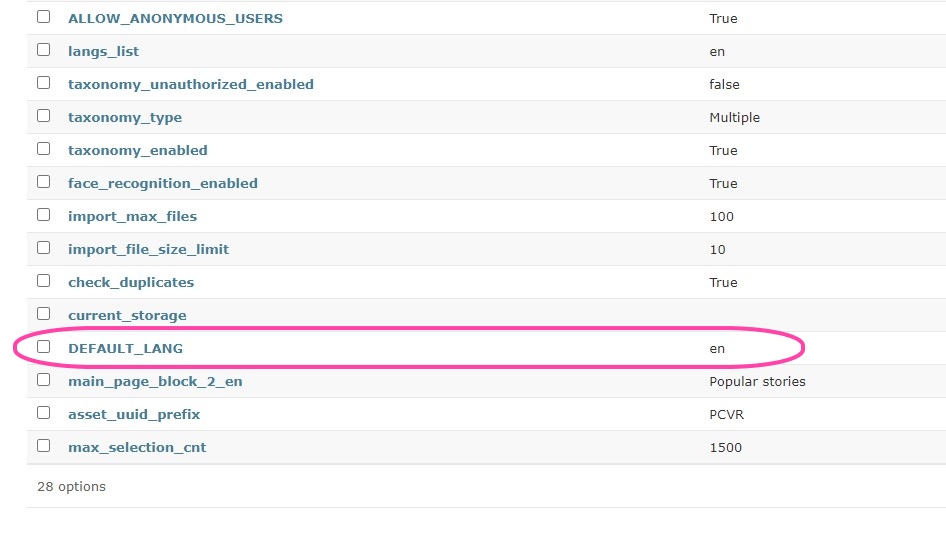
3. In the Val field, enter a two-letter language designation, for example, en for English of fr for French.
4. Click Save.

The name of the collection table on the main page
The main_page_block_2_en option allows you to customize the name of the collection table on the main page in English. For more information about how it works and how to set up the home page, see the article Setting up the home page.
The UUID prefix
Each asset imported into Picvario is assigned a unique number consisting of a UUID prefix and a number in order. For example, PCVR-485. You can use this number to search for assets by entering it in the search bar.
For example, you can use an abbreviation or the name of your organization as a UUID prefix.
To set up the UUID Prefix:
1. Go to the admin panel, Home > Options > Options.
2. Click on asset_uuid_prefix.
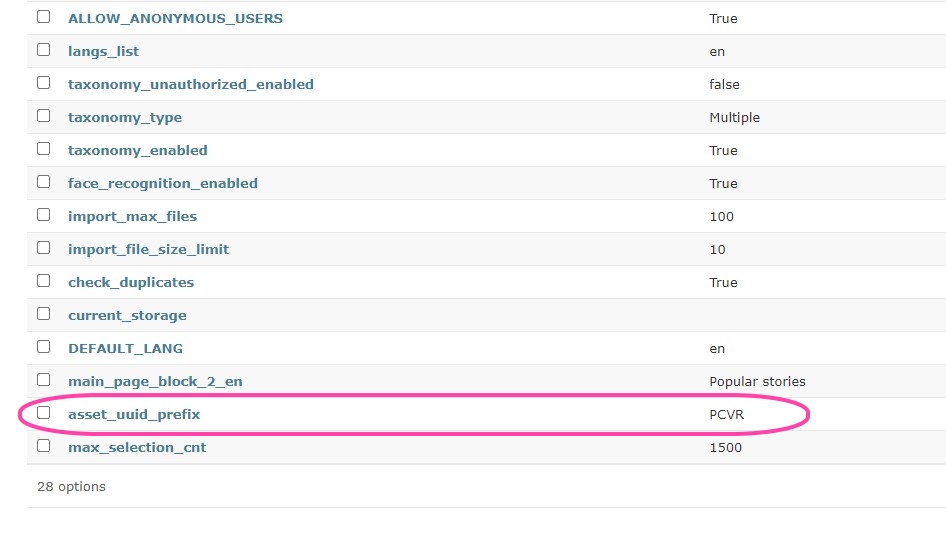
3. In the Val field, enter the UUID prefix.
4. Click Save.

The number of assets available for simultaneous selection
This option allows you to adjust the maximum number of assets allocated when you click the Select All button.
To adjust the quantity:
1. Go to the admin panel, Home > Options > Options.
2. Click on max_selection_cnt.
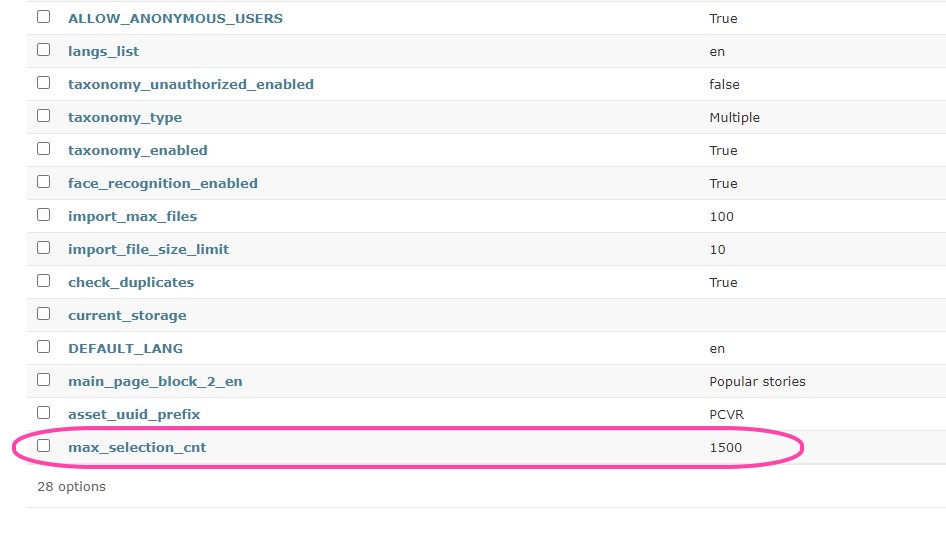
3. In the Val field, enter the maximum number.
4. Click Save.
